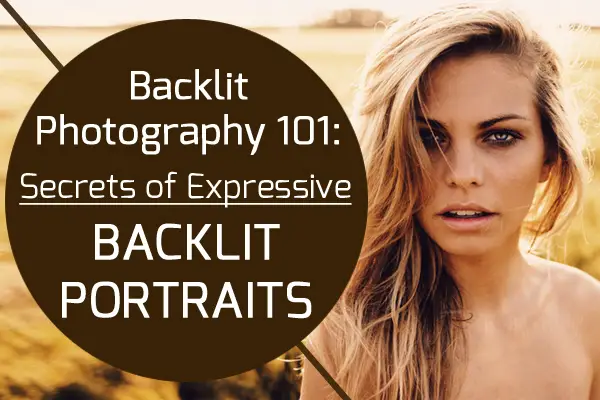
Now YOU Can Create Mind-Blowing Artistic Images With Top Secret Photography Tutorials With Step-By-Step Instructions!

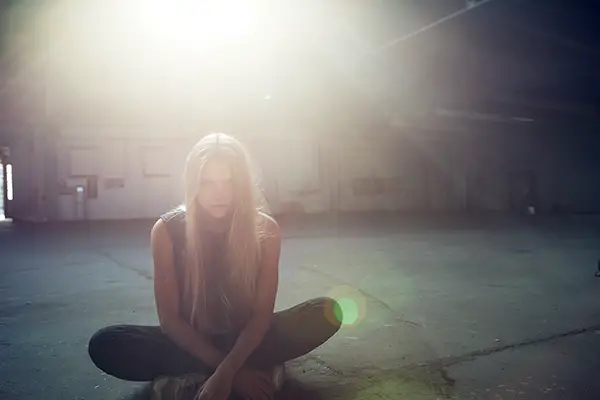
Believe it or not, you don't have to own super
expensive equipment or be some kind of camera wiz to take high quality
camera shots like these…
… but all those hotdog pro photographers out there will NEVER reveal their secrets to you…
… so I'm about to do it for you.
Don't take my word for that though - here's what just one person had to say:

If you've ever wanted to:
- Take breathtaking special effects shots with just your regular camera…
- Finally know how to create "light painting" images that are simply out of this world…
- Improve your "regular" photography skills and take better photos immediately…
Then you need to keep reading because everything's going to be revealed on this page…
… and here's the best part:
Because of the practical shortcut secrets you're about to find out,
you'll quickly be able to skip the "amateur photographer" stage that
usually takes years to get past… and you'll be a much better
photographer from the very next time you take a shot.
From: Evan Sharboneau
Dear Photographer,
Here's the deal -
If you want to be able to take the really cool photos - those
crazy special effects images others just can't figure out - what I'm
about to share with you will blow your mind…
… in fact, you'll probably be a little annoyed that nobody told you this stuff before.
You see, there are a handful of simple, easy techniques that can
totally transform how you use and view your camera - and they're so
quick to grasp, they'll make a difference for you the very next time you
snap a picture.
Trouble is, the ranks of highly paid professionals out there don't like to share.
So up until now, the only alternative has been to take expensive college or evening courses, and buy a ton of pricey equipment.
And I don't know about you, but I don't have thousands of dollars to throw at new cameras, lights, and to enroll in courses.
So I learned the hard way.

You see, I'm an obsessive photographer.
I'm one of those guys who constantly takes pictures. I drive people crazy, always snapping
something. You know?
And I like to experiment - always have.
Trouble was, I wanted to take all these cool shots, and I had
all these great ideas… but I didn't know how to get started… and I
didn't think I had all the specialist equipment I'd need…
… so I had to experiment.
I Had No Choice - I Didn't Have
Money To Burn, So I HAD To Figure
Out This Stuff On A Shoestring
And I did it, through necessity. I'm passionate about this
stuff, and I couldn't rest until I could get the kinds of pictures I
wanted to get.
Ever hang around at Flickr.com or DeviantART.com?
I wanted to be able to do some of the photography tricks I saw
people doing there. All those cool visual effects, that out of this
world stuff - I
needed to know how it was done.
And I guess you could say I got a little obsessive - but that's
okay. Photography is my passion, and if you've been bitten by the bug,
you'll know what it feels like to have that burning need to get
just the right shot.
Eventually, all the crazy experimentation started to pay off. My
photography buddies started asking how I was taking my pictures, what
techniques, what equipment…
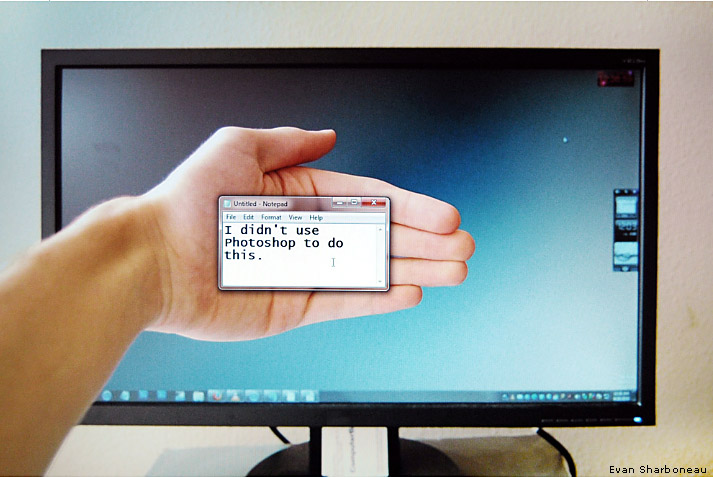
… and I'd be creating crazy images like this just using my plain
old digital camera, while everybody was assuming I was using Photoshop.
And eventually, I was getting so many people asking
me how I did all this stuff, that I put together a simple guide
revealing everything.
Thousands of people all over the world have downloaded the guide, and used it to finally get the shots they want…
… and I've just updated it, and released the second edition.
Introducing:
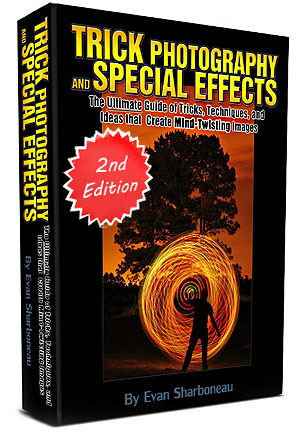 Trick Photography & Special Effects 2nd Edition
 - Your complete instructional guide on taking breathtaking special effects shots and cool images your friends won't believe…
It comes with 295 pages of instruction, 9 hours of
how-to video tutorials, and contains over 300 creative photographs
created by some of the most talented photographic artists around the
world.
It's time for you to skip the months and years of
being one of those enthusiast photographers - you know those poor guys
who read all the magazines but doesn't have enough time to invest in
getting the skills he really wants…
… you'll be skipping past that stage totally, and
getting right to the point where you're an accomplished photographer,
taking pictures that blow everybody away.
You see, I'm impatient.
I've got no time for that kind of learning. So I'm
going to teach you the exact same shortcuts I used to become a skilled,
effective photographer in no time flat.
You're going to be jumping over all the frustrations
and difficulty, all the mystery of not knowing where to start, and
instead getting right to the point where you can easily take the kinds
of shots you've been dying to take your whole life.
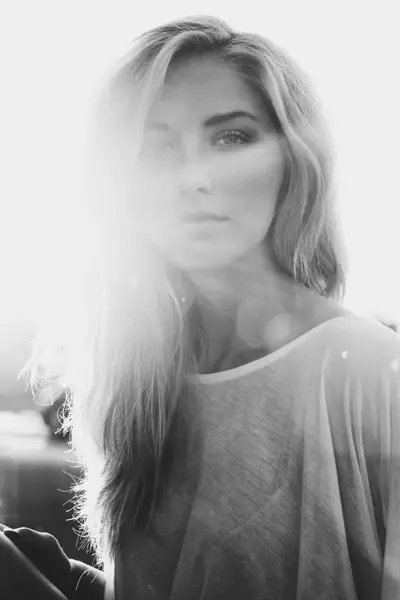
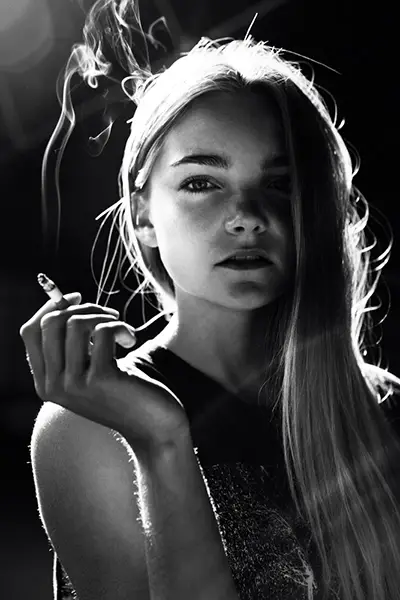
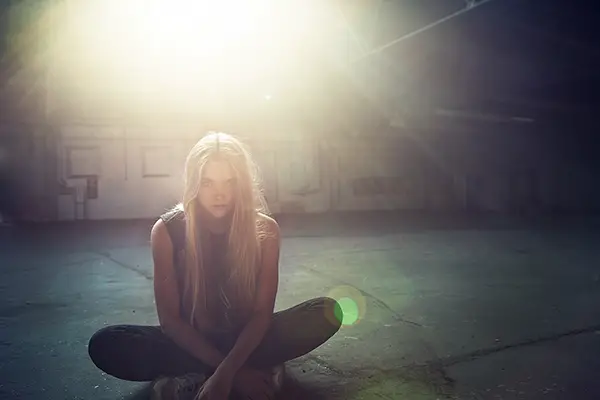
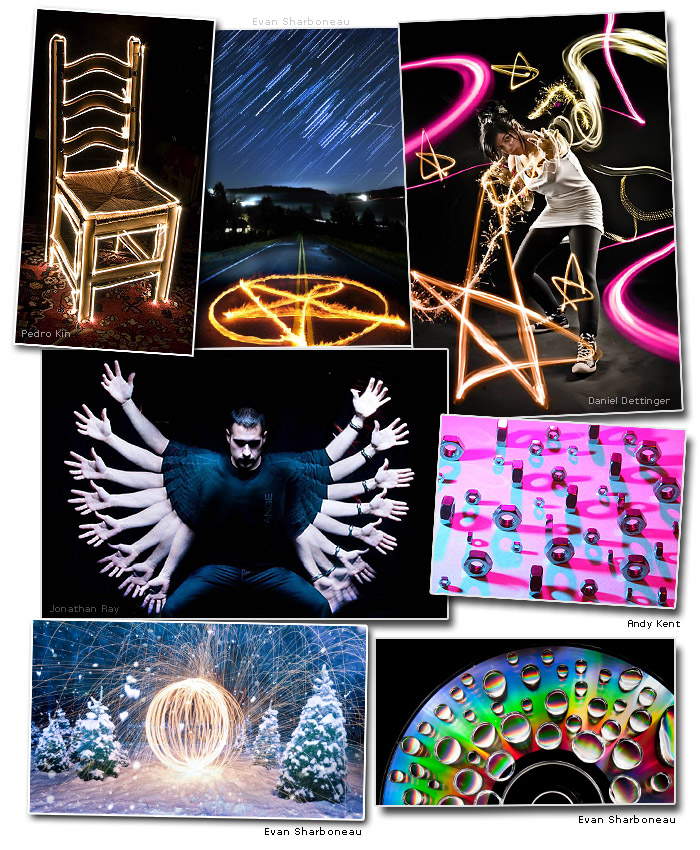
You know what I mean, shots like this:

In Trick Photography and Special Effects, you're
going to be shown my hardcore, best kept secrets for taking spectacular
photos that have to be seen to be believed.
… things like:
- How to use stunning photography tricks
that other people simply won't even understand - they'll think you've
spent hours with Photoshop, but in reality they're just regular photos…
- How to use laser pens, flashlights, and other household items to get spectacular visual effects
- How moron-simple tweaks to your camera
settings can let you take amazing shots that would usually need a
hyper-expensive camera setup
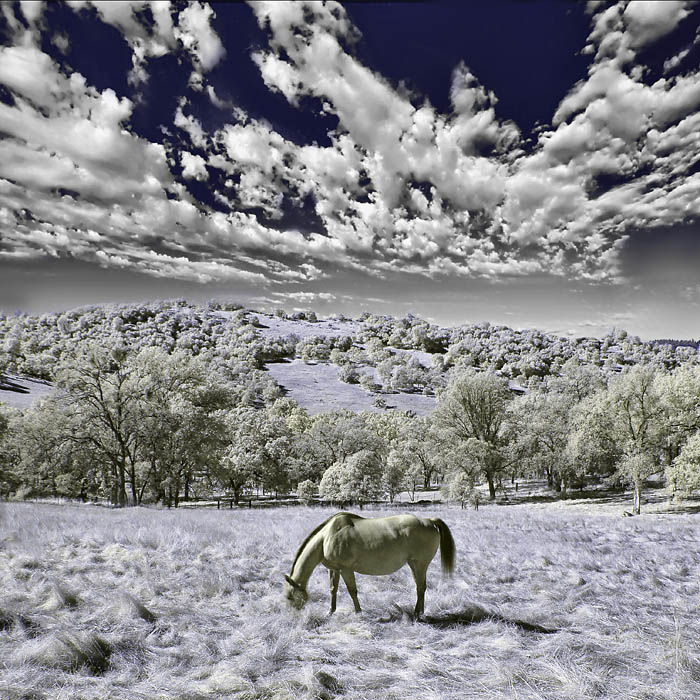
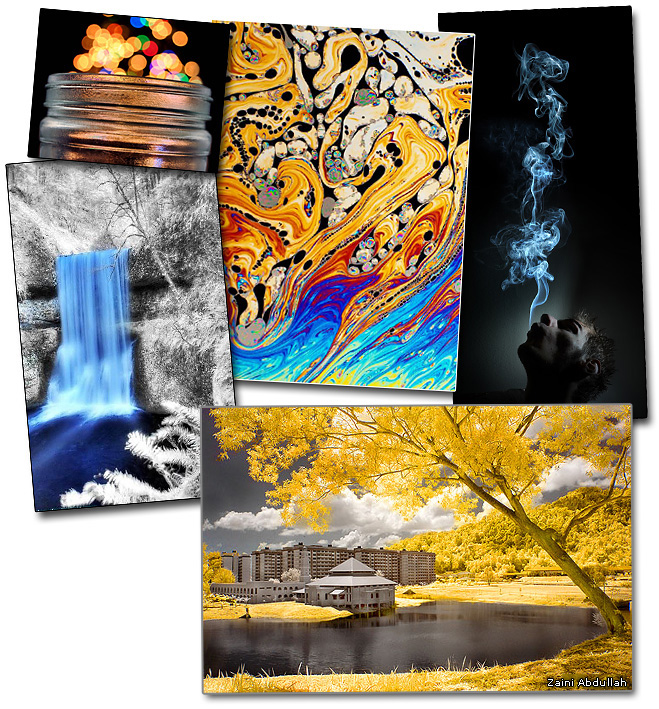
- How to capture infra-red light with your DSLR to create impactful images with surreal color
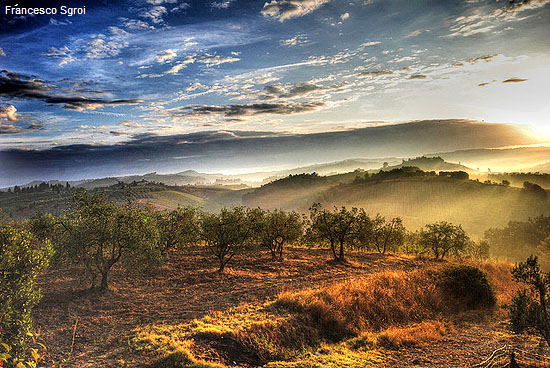
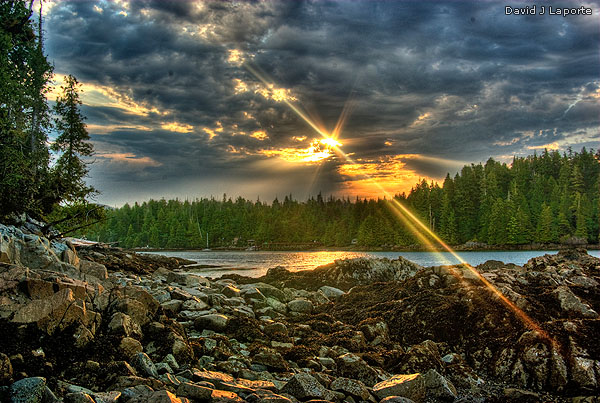
- How to capture beautiful High Dynamic Range nature or landscape shots… pictures like this:
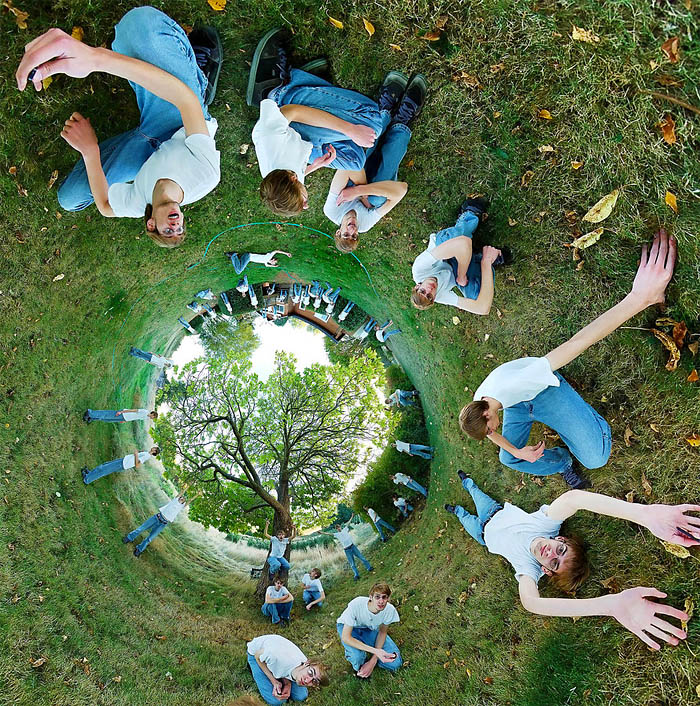
- How to shoot and edit amazing 360 degree panoramic shots like these…


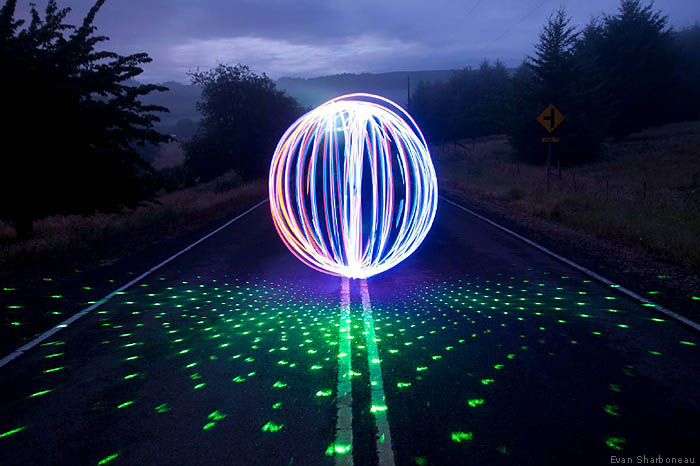
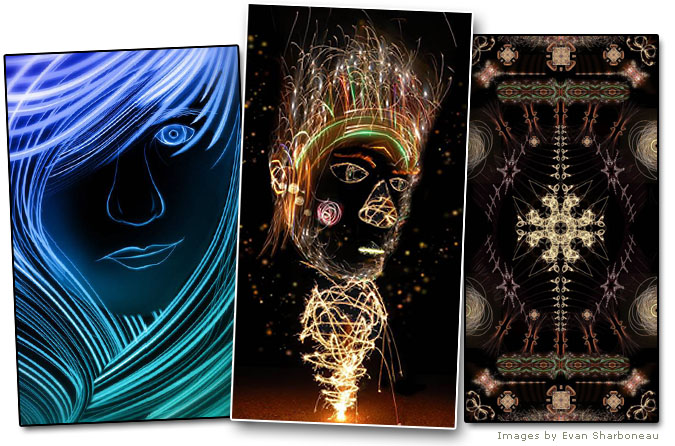
- The secret behind stitching multiple light paintings together to create pseudo digital art:
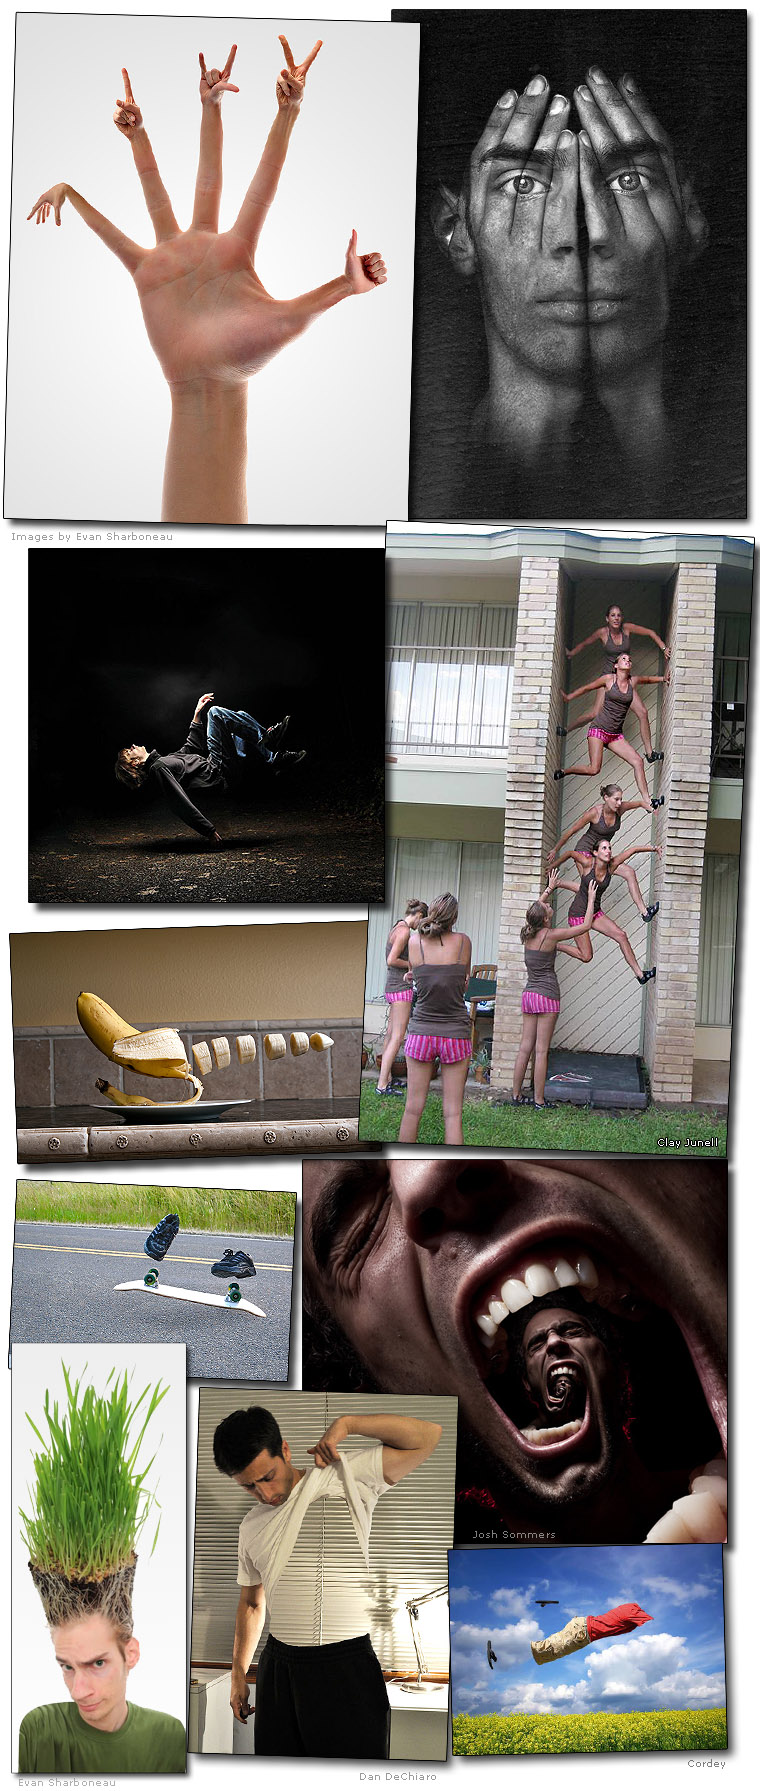
- How to put "the invisible man" into your pictures

- How to tweak the color settings in your camera to make things "pop" in just the right way.
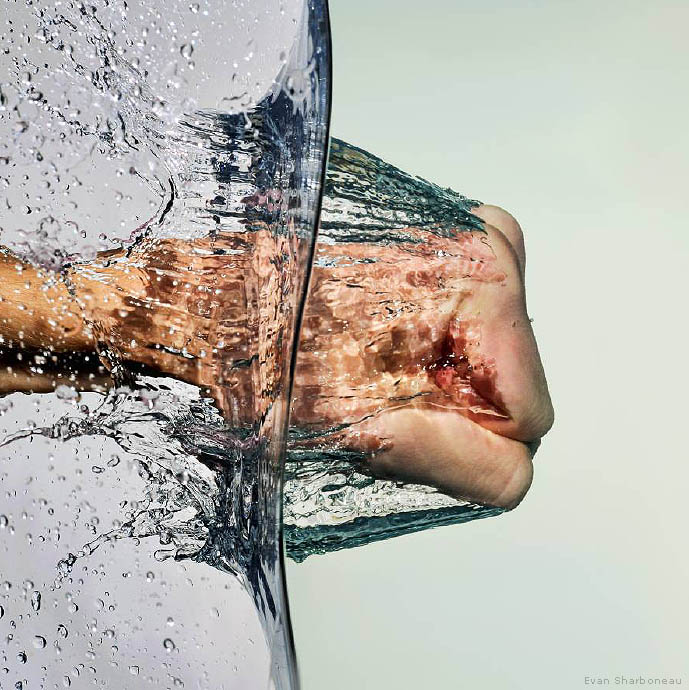
- How to freeze motion and take crystal clear high-speed photographs just like this one:
- Cool perspective tricks you can do right
now, in camera, with no special tools or software needed - know how to
point n shoot? That's all you'll need
- How to take 3D images with your camera right now - no expensive software needed, and you can grab great 3d images immediately…
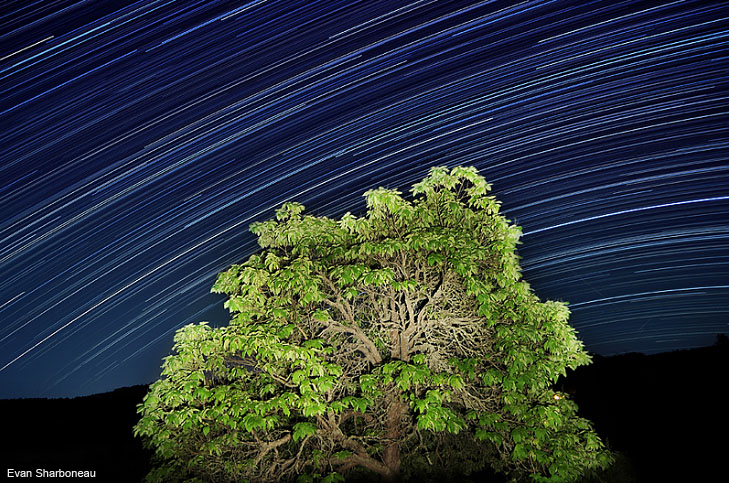
- How to capture amazing "star trail" long exposure shots like this
- The simple 30 second tweak you can make to your
camera to let you take excellent photos every time… I'll show you in
plain English exactly how to do it, and it really does take no more than
30 seconds.
- Why your computer scanner is the key to some of the coolest, wackiest pictures you've ever seen - and no, I'm not talking about scanning them
This amazing guide will show you exactly how to break
through the ranks of "ordinary" photographers and become the person who
takes shots that amaze everybody.
And if you're thinking it's all about buying a ton of
different lenses and then memorizing a million different camera
settings and a bunch of other dry stuff like that…
… Wouldn't You Rather Skip All That
& Get Results Immediately, With
The Equipment You Already Have?
Chances are, the camera and everything you already have is enough for some excellent shots.
BUT…
… I'll talk you through exactly what you should get if you want to upgrade, and why.
AND THEN…
… I'll show you how to put together some of your own
stuff that will let you create some of the most amazing pictures you've
ever seen.
That's what I designed this guide for - to let
regular people take amazing photographs by handing them the photography
tricks and backdoor secrets to get it done without all that fancy
equipment and a Visual Arts degree.
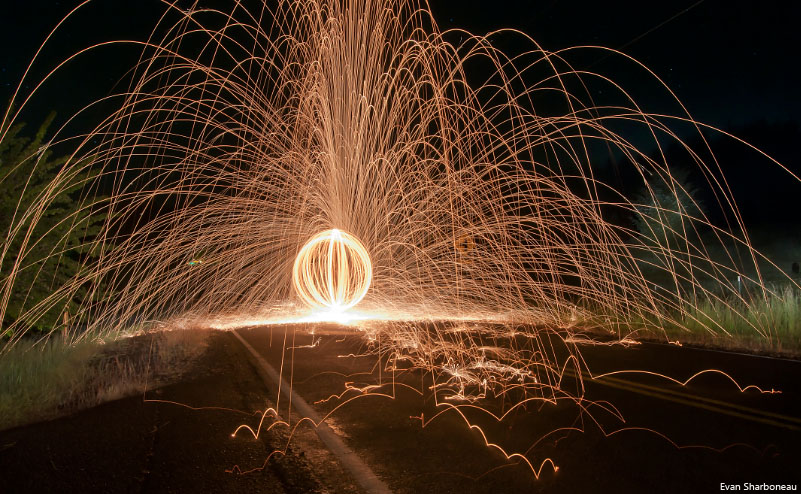
For example, you'll see how you can use a simple
piece of household cleaning equipment and a basic entry-level DSLR to
create this awesome image:
In fact, your photos are going to be so amazing (starting just a few minutes from now), people flat out won't believe
you took them, until they see it with their own eyes.
For example, you'll see exactly how one tiny tweak to your camera can generate oustanding images like this:

And That's All Great, But There's One
Other Thing You Must Know…
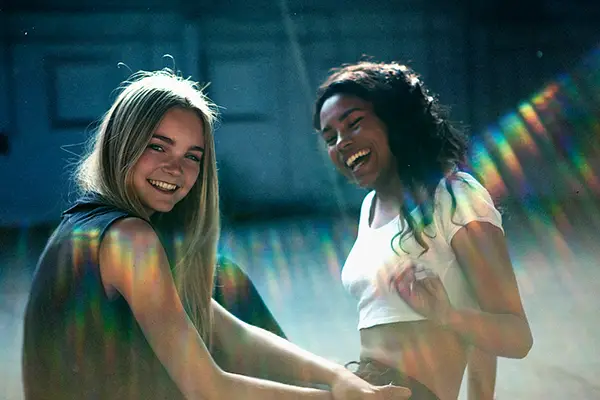
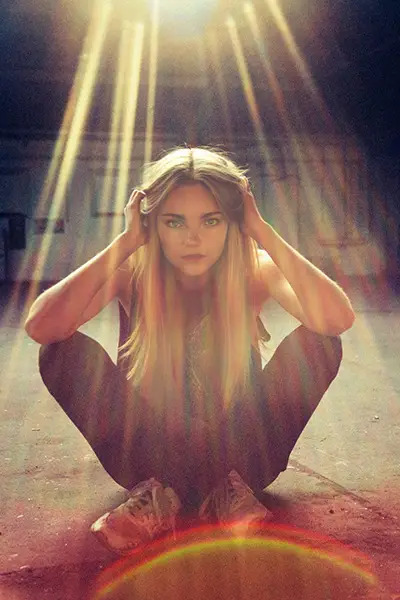
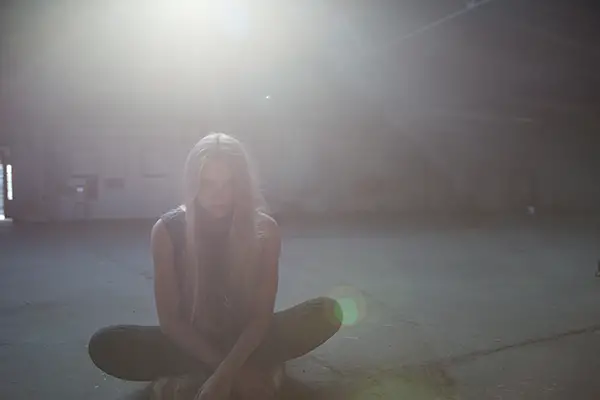
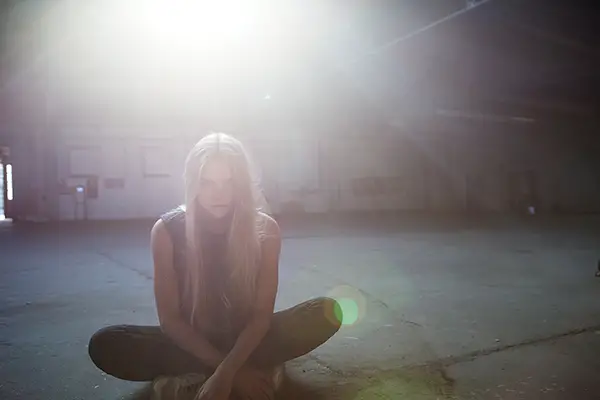
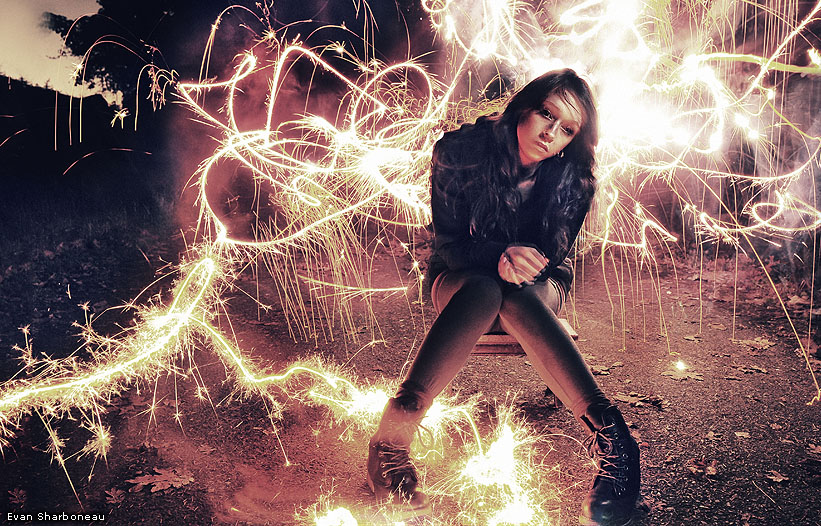
As well as showing you exactly how to make great "light painting" images like this,
and tons of other cool pictures like these…
… I'm also going to show you how to use Adobe®
Photoshop® software to improve your shots and create visual effects that
are simply out of this world…
I'm talking about super-cool images like these:
Right Now You're Probably Thinking
It Sounds Great, But You Don't Have Photoshop,
& Don't Want To Pay Out $700 For It Too
Don't worry. For the tricks that require Photoshop, you can use an alternative program called
Adobe Photoshop Elements (Version
10 or above) which is less expensive compared to Photoshop CS6. Adobe
Photoshop Elements will be able to do the majority of the Photoshop
tricks I teach.
Pretty cool huh?
This guide is going to totally revolutionize the way
you take photos, starting today, and you'll discover Photoshop and
photography tricks that are going to stay with you for the rest of your
life…
… and sometimes, learning this stuff can actually
improve your life for good, like it has for so many others. Here are a
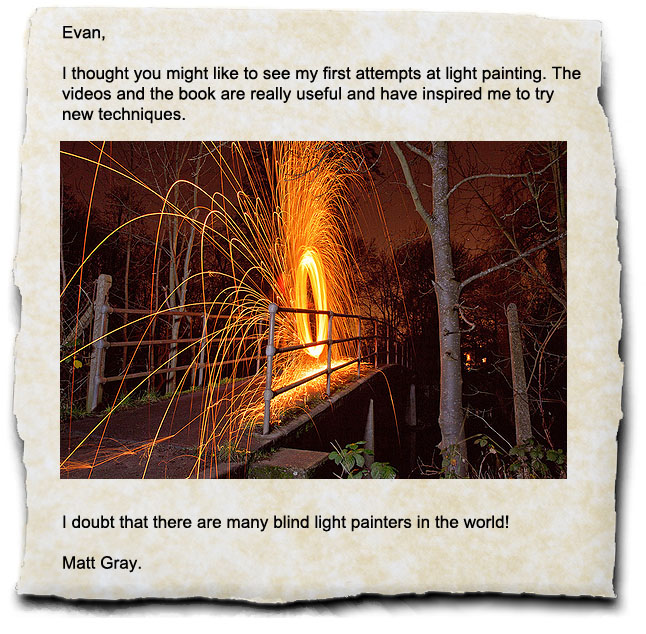
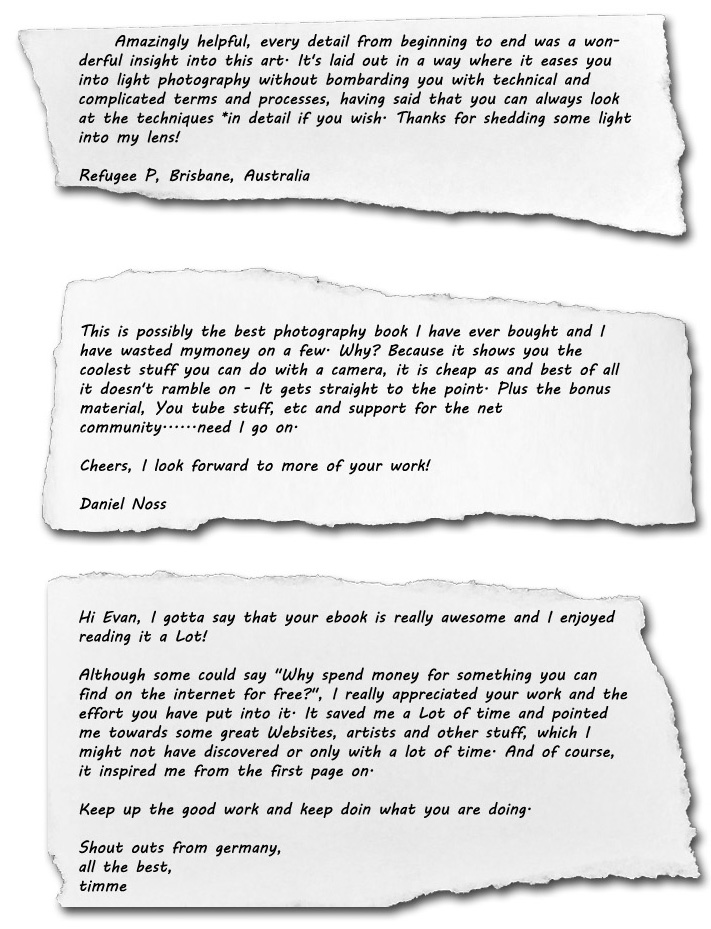
few e-mails I've received from people who have read the e-book:

Bottom line, if you're a real shutterbug, or even if
you just a have a passing interest, this amazing guide will show you how
to take killer shots like the ones on this page.
You'll be able to start just minutes from now, because the course is an
instant download download. There
is nothing that needs to be shipped. You will have online access to the
material 24 hours a day, seven days a week, forever!
"Evan, That's Exactly What I
Need, But How Much Is It?"
Great question - and the honest answer is MUCH less than you're thinking.
Before we get into the specifics of that though, I want you to know this is a 100% risk free deal.
In fact, I'm so sure this is going to transform the
way you take pictures forever, that I'm going to GUARANTEE it happens
for you the very next time you take a picture - even if that's 5 minutes
from now.
AND - it doesn't stop there, because you get to try
it for 8 whole weeks before you decide if it's for you - check out the
details below:
Your 1 Photo Improvement Guarantee: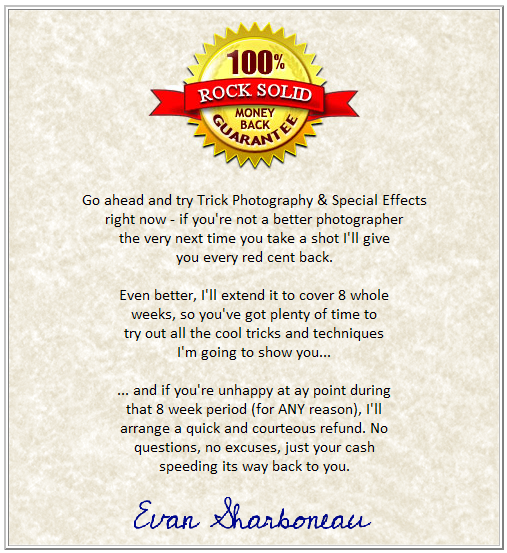
That guarantee really does make this a completely
ZERO risk deal for you… and I've made sure the price is an absolute
rock-bottom bargain too.
You see, I like photography. It's my obsession, my number one way to spend time.
And I think everybody should have the freedom to take
the kinds of pictures they want to take… and it shouldn't rely on you
having some kind of expensive degree, or fancy equipment.
So I've made this as low-priced as possible…
… because I really do want it to be affordable to anybody.
Photography shouldn't be about spending thousands of
dollars on education and gear… it should be about fun, expression, and
capturing your imagination.
So if you go ahead and order right now, you'll get lifetime access for just $47.
That's all it is - just $47 to be taking better pictures a few minutes from now.
That's not an exaggeration by the way - the moment
your order is processed, you get immediate access to the member's area,
where you can download the guide and watch the videos online right away -
even if it's 2:00 AM on a Sunday morning.
Here's what to do now:
Go grab a credit card, and hit the Add To Cart button below. You'll be taken to your 100% secure order page
(I use Clickbank to process the payments with their world-class 128 bit security encryption to make sure everything is safe).
The moment your order is placed, you'll be
transferred directly to your member's area, where you can download the
guide immediately. By this time tomorrow, you'll be a better
photographer.
So go ahead, and do it right now:
http://72b10n1d14z7srbbqdykpves9d.hop.clickbank.net/